| The purpose of this guide is to explain a particular technique for this wikia as detailed as possible with the necessary images and information. If there is anything you do not agree with on this guide, feel free to add it to the talk page before posting it into the guide! |
Basics[]
- The console (see here on how to open it)
- Your screenshot capture key or any software able to do this (FRAPS for example)
- Having all you graphics options set to high (only for the picture!).
BEFORE STARTING TO READ, IT'S HIGHLY ADVISABLE TO CHECK IF YOU CAN SET ALL YOUR OPTIONS TO HIGH OR VERY HIGH. ALSO MAKE SURE THEY ARE ALL SUPPORTED. IF NOT, YOU SHOULD NOT READ THIS GUIDE.
Guide[]
First step[]
Open Counter-Strike: Source and open your console. insert here (exactly as it appears in the right order!):
- sv_cheats 1
- impulse 200 (or r_drawviewmodel 0)
- cl_drawhud 0
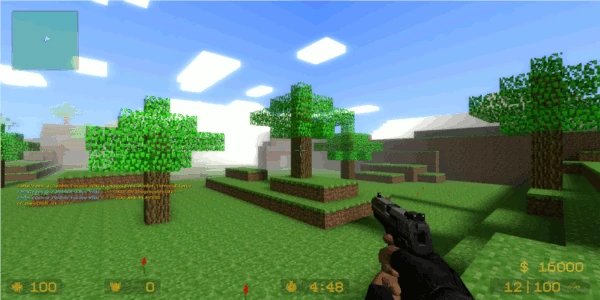
By now you should have all your HUD removed and there shouldn't be any weapon visible (look at the screenshot for the difference). You are now almost ready to take screenshots!
Second step[]
In order to achieve the highest picture-quality, you obviously need to set all your options to high. Since a screenshot is only 1 frame, you need to do this only once if your computer can originally not run the game at these options. Some very important options are:
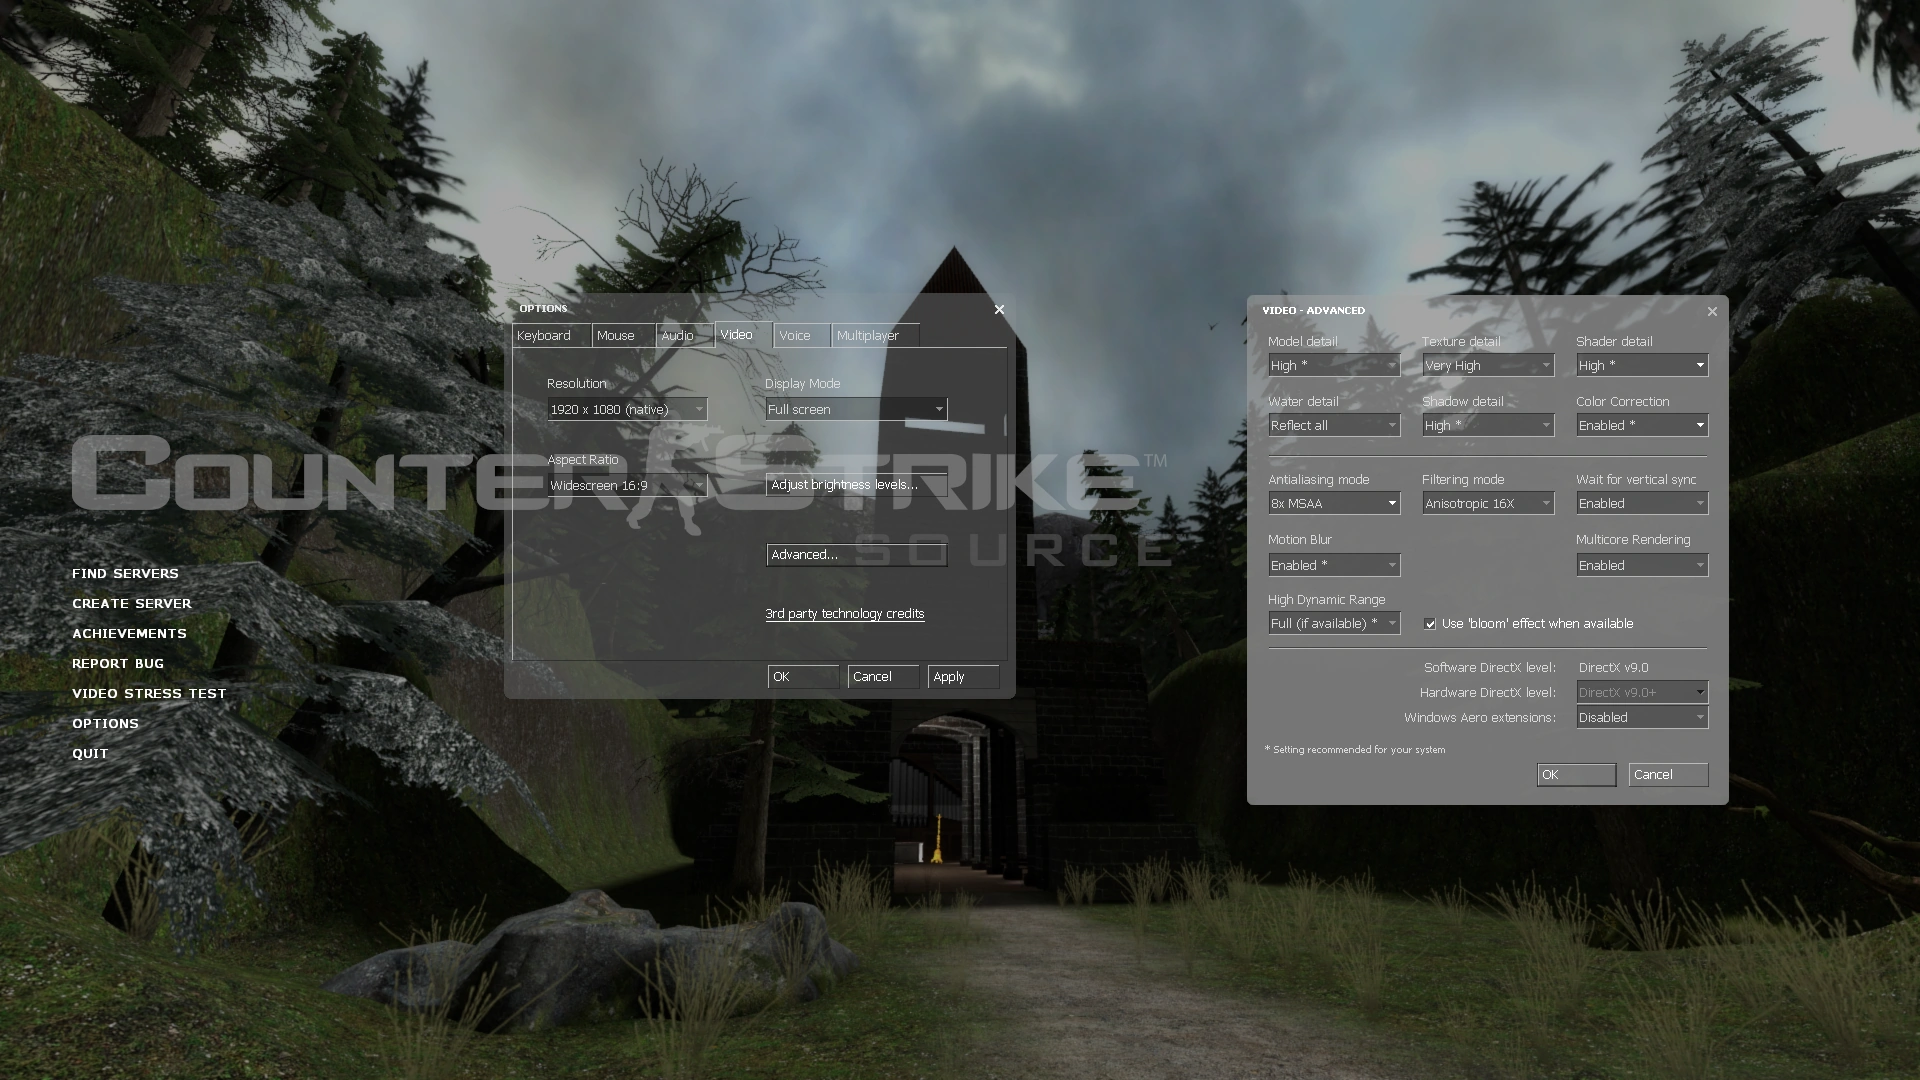
This is the example of all the option on the highest settings. If you can run them all, it would provide the best picture quality!
- Full resolution!
- World models: High
- Textures: Very High
- Shaders: High
- Shadows: High
- Water Reflection: Reflect all
- Anti-Aliasing x4 (x8 eventually, but it's nearly impossible to notice any difference especially at full resolution)
Note: Vertical Sync and Multicore Rendering will not affect your screenshot, so if they improve your performance, you should usually leave these options off if taking screenshots
Sometimes options such as Anti-Aliasing, water reflection and Shaders are not supported. In that case, it's advisable to ask a friend with a more powerful computer to take a screenshot of the map because these options can change the visual appearance drasticly to a different level. While there's nothing wrong with such pictures to post them on the wikia, it will most likely be outmatched by other screenshots, so when your computer can't support these options, you should better not do this.
Third step[]
In order to save your screenshot somewhere, you have two options:
- Taking a screenshot with the screenshot button on your keyboard (print scr) and then save it as .png or .jpg in a program like Gimp or simply Paint (from Windows).
- Use a software program and save it in a directory. FRAPS is an excellent choice!
Once you are set-up, you can now choose your location that you want a screenshot from. Usually, locations with much visual content are the best, but typical objects from a certain or main subject of the map can also provide nice screenshots!
Final step[]
Go to your screenshot you saved, and rename it to the mapname exactly as it is! You are now ready to upload the file under the license I took this foto myself. and place it on the right mappage.